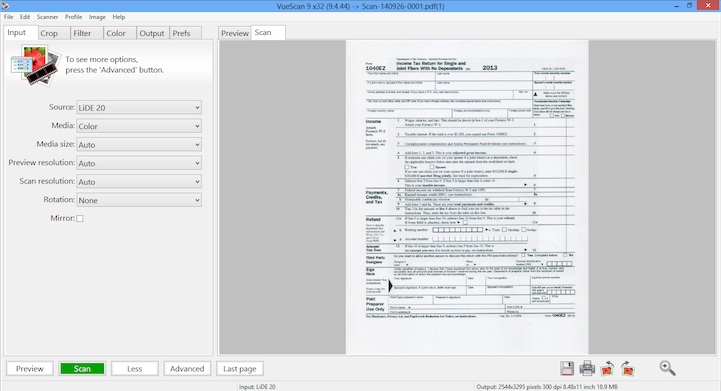
How VueScan Works

VueScan does two different things: it scans an image, and then it processes the raw data from the scanner to produce a color-corrected image. These two things are done in steps, and it’s useful to understand each of the steps when scanning and processing.
The Preview button and Scan button perform both the scanning and processing steps. The Save button starts from the raw CCD data in memory and only performs the processing step.
Scanning
Scanning an image involves: optionally focusing the scanner, setting up the exposure time for the CCD area to be scanned, number of bits per sample, number of samples per pixel, scan resolution, and then reading the raw CCD data into VueScan’s memory buffer.
If single-pass multi-scanning is enabled, each line of data from the CCD is read multiple times and combined (averaged) while being stored in the memory buffer. If multi-pass multi-scanning is enabled, the whole scan area is read multiple times and combined (averaged) in the memory buffer.
There is no scaling or color correction of the raw CCD data in the scanning step. Some scanners either always or sometimes convert 10-bit or 12-bit CCD data to 8 bits before transferring it to VueScan, and then VueScan converts it back to 10-bit or 12-bit CCD data. This is done using the same gamma correction table specified by the sRGB standard.
When the Input | Source option is set to “File”, the raw CCD data is read from a TIFF or JPEG file and stored in the memory buffer, just as if it had been read directly from a scanner.
When the preview image is scanned, the exposure time is fixed at 1.0, the area to be scanned is the full preview area, and the scan resolution is set to a value that produces approximately 1 million pixels.
When the full scan is done, the exposure time is either computed from the preview or from the manual setting and the area to be scanned is a subset of the preview area (determined by the cropping). If the scan resolution is Auto, a scan resolution is chosen that produces approximately 4 million pixels.
When the preview or scan is performed, the raw data is put into a memory buffer. If the Output | Raw file option is enabled and Output | Raw output with is set to “Preview” or “Scan”, the raw data is written to a TIFF file at the same time as it’s put into the memory buffer.
Processing
The processing steps are performed for both the preview and the full scan.
The first step uses the infrared data for a first attempt at dust removal (if enabled). This reads the whole image from the memory buffer to characterize the relationship between the color channels and the infrared channel. Then it reads each line once, correcting it for dust spots and passing each line to the subsequent steps for further processing.
The next step is applying the cleaning filter. This filter removes dust spots by using the infrared data to identify and remove dust spots and then filling in the spots with image data adjacent to the dust spots. This filter also reduces the appearance of film grain using a sigma filter.
Note: infrared data is only available from scanners that have an IR channel. If the channel is not present the infrared cleaning options will be skipped.
If saving files, the Output | Raw file option is enabled and Output | Raw output with is set to “Save”, the data at this stage is written to a TIFF file. This raw data can subsequently be re-processed by setting the Input | Source option to “File”.
Note: that the data from the infrared channel, if present, is saved as part of the raw file.
Next, the restore colors and restore fading filters are applied (if enabled). This reads the whole image once to detect the original colors of the image and then reads each line once to correct for color shifts and dye fading.
The next step is performing corrections for film media. This reads the whole image once to compute the intensity of the film base, and then reads each line, corrects it based on film characteristics, and passes each line to the subsequent steps for further processing.
At this point sharpening with an unsharp mask is performed if the Filter | Sharpen option is enabled.
The last step is color correction. The whole image is read once, and the options from the Color tab are used to convert to the final colors of the saved images. The inputs to this step are 16-bit linear light samples, and the outputs from this step are gamma corrected samples.
Once the image data has been corrected, the preview image data is displayed in the Preview tab or the scan image data is optionally displayed in the Scan tab or written to a TIFF file, a JPEG file, a PDF file, an OCR text file and/or an index file.