Filter Tab
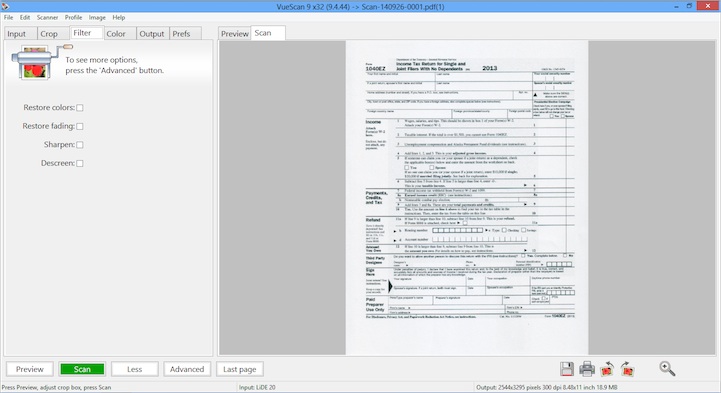
This tab is used to control the infrared (IR) cleaning, restore colors, grain reduction and sharpening options.
Filter options affect the output of cropped TIFF, JPEG and PDF files and the images in an index. They do not affect the data of a raw scan file.
The one exception to this is if Output | Raw output with is set to “Save” - in this case, the infrared cleaning and grain reduction is also done before saving the raw scan files.
See the Processing section of the topic “How VueScan Works” to understand the details of how these filters are applied.
- Filter | Infrared clean
- Filter | Restore colors
- Filter | Restore fading
- Filter | Grain reduction
- Filter | Sharpen
- Filter | Descreen
- Filter | Descreen dpi
- Filter | Flatten
- Filter | Colorize
- Filter | Hole punch removal
- Filter | All frames
Filter | Infrared clean
When an infrared channel is available, use this option to remove dust spots and scratches. It only causes image softening in the immediate vicinity of the spots and scratches, except when this option is set to “Heavy”.
You can control the amount of cleaning of the image by choosing the Light, Medium or Heavy options.
You can read more about why this exists here
Standard Option: This option is displayed when the scanner has an infrared lamp and when scanning a color film (not Gray or B/W negative).
Filter | Restore colors
This option uses ‘memory colors’ to adjust the colors of an imaging by making them closer to what the brain thinks is the right color.
The term ‘memory colour’ is used for the colour of well-known, often seen objects, as in our brains we attach a colour to the given object. Memory colours are well established products of our memory.
This works best when scanning at high resolution.
If you select this option, the film type in the Color tab isn’t used.
Standard Option: This option is always displayed.
Filter | Restore fading
This option is used to restore the effects of faded film dyes. Slide film often shifts towards red over time, and color negative film towards cyan. You can read more about this feature here.
If you select this option, the film type in the Color tab isn’t used.
Standard Option: This option is always displayed.
Filter | Grain reduction
Use this option to reduce the graininess of a scan. It can also reduce the effect of electronic noise.
You can control the amount of softening of the image by choosing the Light, Medium or Heavy options.
Professional Option: This option is always displayed.
Filter | Sharpen
This option enables an unsharp mask. This is used to sharpen images, the unsharp mask will improve images for printing.
If you’re planning on editing images after scanning them, then you should leave this option off.
Standard Option: This option is always displayed.
Filter | Descreen
Set this option when scanning images made up of an array of dots in a “screen” pattern.
Standard Option: This option is displayed when scanning reflective media.
Filter | Descreen dpi
Set this option to the approximate number of dots per inch of the “screen” used when printing the media you’re scanning. The default value of 75 works well for most media.
Professional Option: This option is displayed when scanning reflective media and Filter | Descreen is set.
Filter | Flatten
Set this option when scanning paper with stains or uneven lighting. For example, when scanning books, the area near the spine is often darker, and this option will correct this.
Standard Option: This option is displayed when scanning reflective media.
Filter | Colorize
This option uses a neural network (AI) to add realistic-looking colors to a black and white image.
For instance, grass and foliage will be green-ish, water will be blue-ish, faces will have skin tone, a beer glass will have a yellow-ish tone, etc.
If this option is set to ‘On’, the existing colors in an image will be replaced with synthetic, realistic-looking colors. If this option is set to ‘Auto’, only black/white images will be colorized.
Note that the image has to be upright for this option to work properly.
When this option is selected, a 130 MB file containing the neural network will automatically be downloaded. If the download fails, use your browser to download this file to the same directory as the vuescan.log file is located:
https://static.hamrick.com/files/vuescan-colorize-20-fp16-v1.bin
Colorizing works for black/white negatives, black/white slides, glass plate negatives and black/white prints.
Professional Option: This option is always displayed.
Filter | Hole punch removal
This option removes the small circles from hole punches in documents, making the scans look better.
Standard Option: This option is displayed when scanning documents (not film).
Filter | All frames
This option makes all frames use the options in this tab, instead of applying the options separately for each frame.
Professional Option: This option is displayed when using multiple frames.