Adjusting Color Balance
Correct color balance is critical for any image to look convincing. Neutral colors should remain neutral and other colors lifelike.
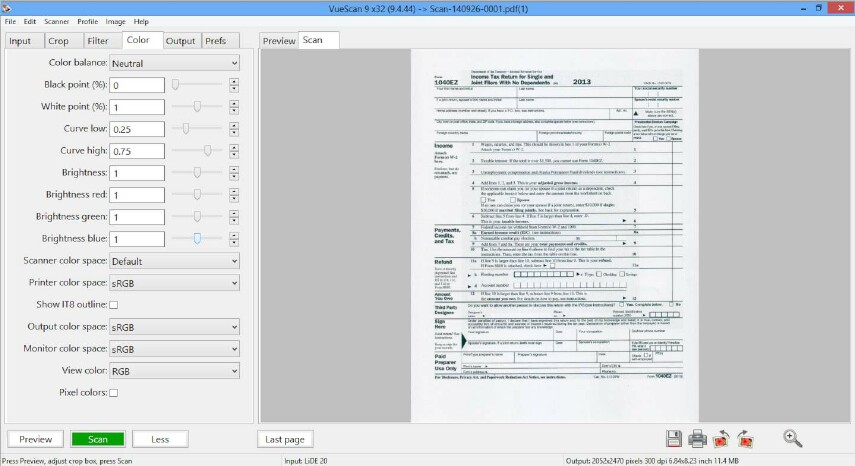
VueScan’s default setting for Color | Color balance (“White balance”) is able to do this automatically for the vast majority of scans. We say for the vast majority because if you’ve taken a shot with unusual lighting, it can confuse the white balance algorithm.
The light from a sunset, for example, may be adjusted so that the ground appears grey instead of orange and scans of flowers may appear less intense.
To solve this:
- Change Color | Color balance from “White balance” to “Neutral”
- If you’re scanning slides, then make sure you’ve set Input | Media to “Image”
You can set the value of the neutral color yourself by using the manual setting, but be aware this may seem counter intuitive as decreasing the red neutral color, for example, will increase the overall red color of the image.
It’s easier to use the right mouse button, click on a neutral color (ie shade of gray) to update the color balance (use control key with Mac OS X). You can reset the color balance to White Balance by double-clicking on the image with the right mouse button (use control key with Mac OS X).