How to double image resolution with VueScan's AI-Powered Super-Resolution

VueScan 9.8.49 adds a brand-new Super-resolution feature that uses neural networks to intelligently double the resolution of your scanned images. It’s perfect for enlarging old family photos for printing, enhancing scanned slides and negatives for digital archives, improving document clarity, or restoring older scans that were done at lower DPI. Instead of settling for pixelated enlargements, you can now use machine learning to add realistic detail and create higher-quality output.
Before you start
- Prepare your source image. Save your scan as a JPEG or TIFF file. The super-resolution process works best when you start with the highest quality source image available.
- Plan for processing time. The neural network analysis takes a few moments. Processing is faster on Windows (using WinML acceleration) and macOS (using CoreML acceleration), but may be slower on Linux systems.
- Understand the output. Super-resolution doubles your image dimensions—a 1000×1500 pixel image becomes 2000×3000 pixels. The output file preserves your original format (JPEG stays JPEG, TIFF stays TIFF).
Use super-resolution in VueScan
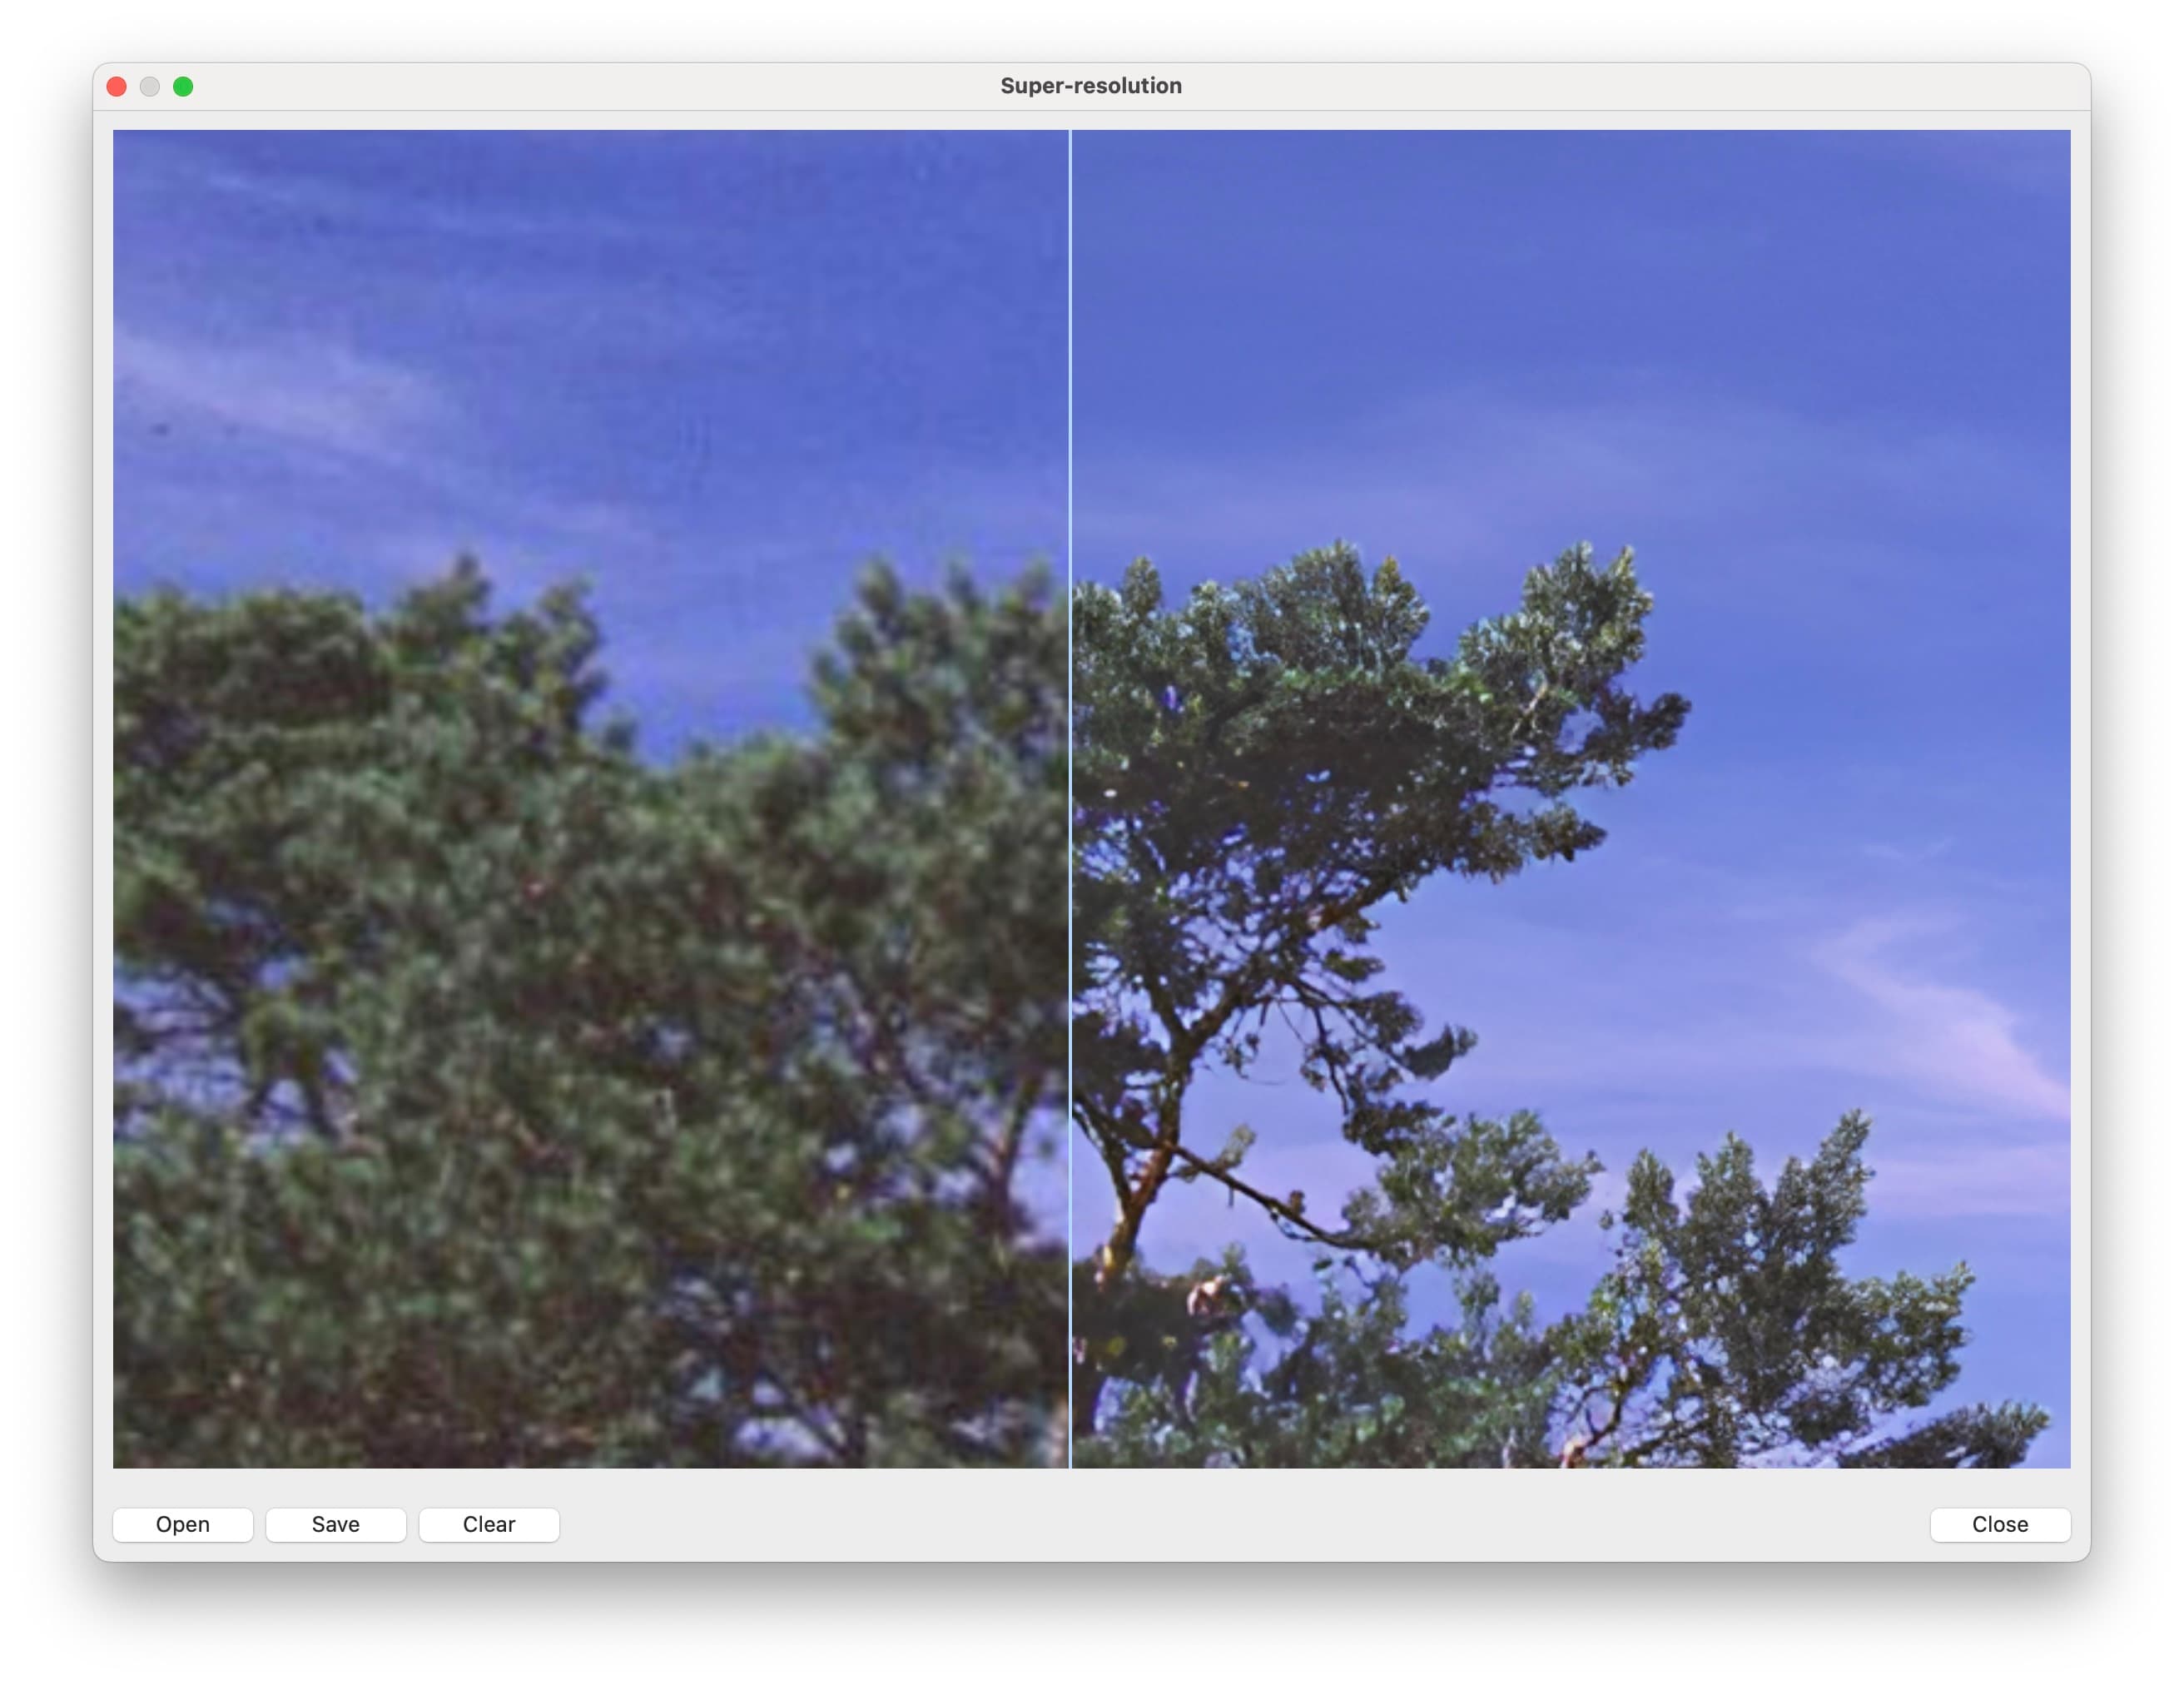
- Open the Super-resolution feature. In VueScan, choose File | Super-resolution. A file selection dialog appears.
- Select your image. Choose the JPEG or TIFF file you want to enhance. VueScan loads the image and begins processing.
- Wait for processing. The neural network analyzes your image and generates the higher-resolution output. You’ll see progress during this step.
- Save the enhanced image. When processing completes, choose a destination and filename. VueScan saves the 2× resolution image in the same format as your original, preserving DPI metadata for accurate printing.
Behind the scenes VueScan uses a trained neural network model to intelligently add detail when enlarging your image. Unlike simple upscaling that just makes pixels bigger, the AI predicts realistic texture and edge detail to create a sharper, more natural-looking result.
Manual installation (if needed)
If VueScan can’t automatically download the neural network model file, you can download and install it manually:
- Download the model file. Choose the appropriate version for your system:
- Standard version: vuescan-superresolution-2x-v1.bin
- Mac ARM optimized (uses Apple’s CoreML acceleration): vuescan-superresolution-2x-v1-mlmc.bin
- Place the file in your VueScan folder. The location depends on your operating system:
- macOS:
/Users/yourname/Pictures/VueScan(replaceyournamewith your username) - Windows:
\Users\yourname\Pictures\VueScan(replaceyournamewith your username) - Linux:
~/.vuescan(the period at the front makes this a hidden folder)
- macOS:
Tips for great results
- Start with the best quality source image you have. Higher quality input produces better super-resolution output.
- Super-resolution works well for photographs, scanned slides and negatives, and document images.
- Results depend on your original image quality. Very low-resolution or heavily compressed images may show less improvement.
- On Windows and macOS, the feature uses hardware acceleration (WinML and CoreML respectively) for faster processing. Linux systems process more slowly without dedicated acceleration.
- The output is exactly double the input dimensions. Plan your workflow accordingly—if you need a specific final size, you may want to resize after super-resolution processing.
Requirements
- VueScan 9.8.49 or newer for macOS, Windows, or Linux.
- A VueScan Standard or Professional license