VueScan Newsletter - April 2018
Welcome to our April newsletter - We have customers all over the world, but wherever you are I think most of us are pleased to see Spring coming at last!
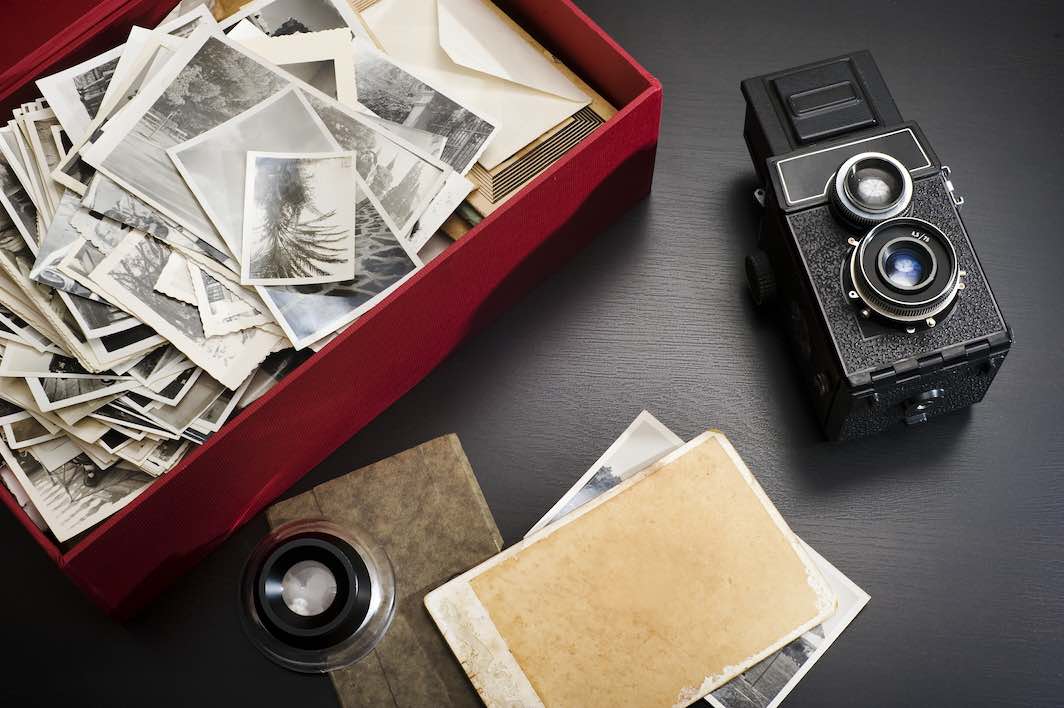
Last year, when we asked our customers what they would like to read about, one of the main requests was for scanning photographs – and everything that this involves. As a result, I made contact with Cathi Nelson – an expert on photo organising (see her introduction below) and this month sees the start of a series of articles on photo scanning. Although we have planned the subjects we are going to cover, if you have anything specific that you would like to learn about then let us know. One great aspect of being a small company is that we can respond quickly to customer requests 😊
As always, please continue to email me with your suggestions and comments.
Thank you!
Newsletter Subscriptions
If you have changed your email address and want to add the new address please sign up here
To unsubscribe (or to delete an old email address), click here
You can read all previous newsletters here
VueScan Updates
Since the last newsletter, we’ve released VueScan 9.6.07.
What's new in version 9.6.07
- Improved support for WIA scanners on Windows
- Added support for using script for 'Prefs | Viewer'
- Can use .bat file on Windows
- Can use .sh or .csh file on Mac OS X and Linux
- Added support for higher resolution scans on some Epson document scanners
- Faster termination of transparency scan on Epson scanners with lamp covered
- Fixed miscellaneous small problems
PLEASE NOTE
We no longer automatically display the ‘HELP | ABOUT’ window allowing you to update, as we know that many people prefer to update in their own time.
To update to the latest version of VueScan, use the 'Help | Update' command, where you can install VueScan updates.
Click here to read the release notes for all previous versions:
Remember - we announce all our releases on Facebook – make sure you have ‘Liked’ us and ‘Share’ our post to all your friends and family.
Frequently Asked Questions
Q) I use specific preferences when I scan. It would be great if I could store those somewhere so that I could hit one button to set them instead of scrolling through every page after every restart or update.
A) Just use “File | Save options” and “File | Load options”, and up to 10 .ini files can be accessed with keyboard function keys.
Q) What resolution should I use to scan photographs?
A) Old (and even new) photographs have less image detail than you’d think. Most scans are OK at 300 dpi, and there’s seldom any reason to scan at more than 600 dpi.
Q) What resolution should I use to scan 35mm film?
A) It depends on what you want to use the images for, but scanning at between 2000 and 4000 dpi will give you equivalent detail to a 600 dpi scan of a print from the film.
Q) How do I configure VueScan so images open in another program? (i.e. Photoshop)?
A) You can configure this by:
On Mac OS X:
1) Click on a .jpg or .tif file while holding the control key (or using the right mouse button)
2) Choose "Get Info"
3) Set the application using the "Open with:" option
4) Press the "Change All..." button.
VueScan will then send .jpg or .tif files to this application.
On Windows:
1) Click on a .tif or .jpg file with the right mouse button
2) Choose "Open with" and "Choose program"
3) Choose the program
4) Check the "Always use the selected program to open this kind of file"
Then double-click on any .jpg or .tif file and verify that it starts up in the application you want.
VueScan will then send .jpg or .tif files to this application.
All about Scanning Photos
Cathi Nelson is the author of Photo Organizing Made Easy; Going from Overwhelmed to Overjoyed as well as the founder of the Association of Personal Photo Organizers.
Over the next 5 months we plan to cover these areas:
This month: Hunt & Gather - Getting your photo collection into one place
Month 2: Organizing your printed photos using the ABC’S of photo organizing
Month 3: Scanning printed photos, slides and negatives
Month 4: Proper Naming and Archiving Scanned Photos
Month 5: Celebrate and Share - Best Practices to Enjoy Your Scanned Photos
Over to Cathi!
I am excited to share with you the tips, techniques, and shortcuts I have learned over the years helping people just like you organize their photo collections.
Most people have photos stored in shoeboxes under their bed or in fading photo albums, as well as thousands of images on their phone and computer. In the midst of the photos are loved ones who have passed away, vacations, the first day of school photos, celebrations of babies, weddings and birthdays. Also mixed in are letters from the past, slides, negatives, photos of beloved pets, winter scenes and spring flowers.
My goal in the coming months is to help simplify this process for you and break it down into small manageable steps. We will start with phase one, called the Hunt and Gather process and then each month I will build upon your knowledge including teaching you the ABC’s of photo organizing, best practices when scanning, proper naming and archiving and ways to celebrate and share your photos. Are you ready to get started?
PHASE ONE: HUNT & GATHER
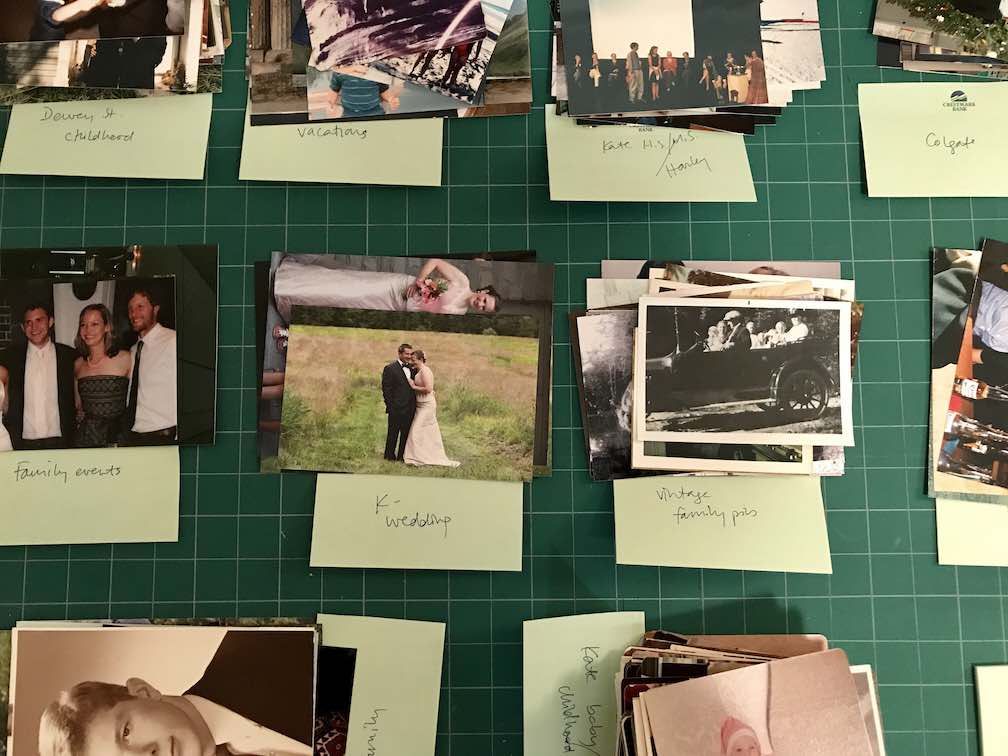
For many of us the saying, out of sight, out of mind, applies perfectly to our photo collections. If everything is tucked away or hidden in drawers and on computers, it will be easy to forget. You’ve made a commitment to organize your photos, so let’s get them into an area where you can work on them.
Designate a temporary workspace that allows you spread out what you have found such as a large table. Next, gather all photo albums, loose printed photos, memorabilia, kid’s art work, negatives, slides, undeveloped film, memory cards and home movies into one place. As you begin this process let your family know what you are doing, they may have family photos to share as well.
Once you have gathered all your assets, it's time to assess the mess and take inventory. You can do this on a spreadsheet or note cards but make sure you take a careful count of everything.
Here’s a great tip: Professional photo organizers measure photos or weigh them. A one-inch stack of photos is approximately 100 pictures and a box of photos that weighs 6 to 7 (2.7KG – 3.2KG) pounds is equivalent to 1000 - 1200 photos. Knowing how many photos you have will help you determine how long this process with take.
The last step is to create a family timeline. Creating a chronological list of events will help as you begin uncovering photos, letters, cards and newspaper articles from the past. You can download a free timeline from my website, www.cathinelson.com or search online for ideas. Here is a short list of what to include: births, marriages, deaths, moves or emigration, religious milestones and education. Don’t forget historical events such as wars, natural disasters, world leaders and popular culture. Having a timeline ready ahead of time will help when you need to add dates or also will come in handy once you begin the scanning process. I will talk more about that next process called the ABC’S of photo organizing in next months’ newsletter.
Meanwhile, the people at VueScan and myself would love to see photos of your collection, post them on the VueScan Facebook page with any questions!
About Cathi:
Cathi fell in love with photography in high school as the photo editor of her school yearbook. She soon found herself working two jobs to save up to buy her first professional camera. From that day on, Cathi became the photo historian of her family and friends. In 2007, Cathi noticed a change as consumers shifted to digital photography. Not only was she helping people with their printed photos, but their growing, digital collections as well. Recognizing that this problem was only going to accelerate, she founded the Association of Personal Photo Organizers and essentially started an entirely new profession. The Photo Organizers are small business owners who share a passion for telling people’s stories with photographs, videos, and memorabilia.
Cathi is the author of Photo Organizing Made Easy: Going from Overwhelmed to Overjoyed and is on the board of The Imaging Alliance and Fotobridge. She is a featured speaker across the globe, promoting the industry and educating the public about personal photo organizing and the revolution it’s created in the preservation of family histories.

Customer Corner
I’m hoping to include customers from as many countries as possible…. Vive La France this time!
Robert Freund is in Brittany, France and is an advanced amateur photographer. Robert says “I started photography when I was about ten. My father offered me the fabulous 6*6 Kodak Brownie flash. I then got a small 35mm camera followed by a Rollei 6*6 and started using Canon SLR in 1971 with an FT. I now work with Fuji gear after Canon and Nikon DSLR.”
“My photo library is composed of thousands of slides, thousands of color negatives, now 3 HDD 1Tb of JPEGs and RAW files. I work with Photoshop CC 2018, and take all types of photos – including landscape, architecture, wildlife, street photography, travels, trekking, macros and aerial photography.”
These photos were taken in 2004 during a cruise on the Nile in Egypt from Luxor to Aswan, we visited all the temples and other famous sites including Valley of the Kings and the Abu Simbel temple. The camera I used was a canon SLR with a Tamron 18-300mm, with negative color Fuji film 400 ISO presumably (no exif at that time ...)
The Minolta Dimage Elite 5400 MK1 is connected to a dell Studio XPS 8100 working in Windows 10 Pro via a USB cable.
VueScan was most useful for effective dust and scratch removing, as I have found that the industrial development on large machines of the film is not always careful enough. I was surprised how good the straight result was after having chosen the film profile. The images displayed were 90% perfect straight from scanning, and then I did some minor post processing in Photoshop.
VueScan was a Christmas gift from my two daughters this year, and the learning curve has proven to be not too steep nor too long.
With good negatives (I mean well exposed) VueScan on the Minolta (one of the best film scanners I think) gives straight out of scanner a 90% perfect result. I have been using VueScan every day. Also, I have found that VueScan works 5 to 10 times faster than the original 2003 driver depending on the work to perform and settings, and 10 times faster with negatives.


Customer Corner
We really want to thank you for your emails to us. We know that everyone is busy, and it is so appreciated when we receive emails like this one. So thank you to all those people that take the time, and this month we had a great email from Garry - thank you!
Hi Beverley,
I am a great fan of VueScan. I first bought in 2000 or so and I remember having a difficult time with a new scanner about 10 years ago, and Ed Hamrick emailed me directly, back and forth until it was resolved. That was great service by, someone whom I imagine, was and still is, the boss.
Keep up the good work!
Garry Leonard
La Quinta, California, USA.