Buttons
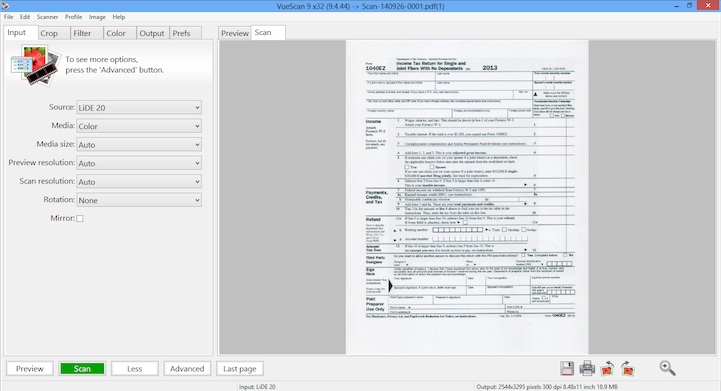
There are a number of buttons that can be used to initiate or cancel scanning.
- Preview button
- Scan button
- Scan+ button
- View button
- Email button
- Cancel button
- Save button
- Save+ button
- Rotate L button
- Rotate R button
- Zoom Out button
- Zoom In button
- Previous frame button
- Next frame button
Preview button
This button does a quick preview scan of the area described by Crop | Preview area and displays it in the Preview tab.
A preview scan is usually created at a lower resolution and is therefore faster. From the preview you can set your cropping, filtering and color balance options that will be applied to the final scan.
Want to preview more than one frame at a time? Then use the Input | Batch scan option. Several previews can be in memory at the same time, and you can change which preview you are viewing by changing the number in Input | Frame number.
If you’re scanning from disk, and specify the starting file in numbered series (e.g. scan0001.tif) you can use the Frame number to select a file. For example, if Input | Files is set to “scan0001.tif” and Input | Frame number is 12, VueScan will look for the file “scan0012.tif” when Preview is pressed.
Other options for specifying numbering schemes for VueScan files are documented on the Output tab help topics.
Scan button
This button performs the scan, displays the image in the Scan tab and optionally saves to the file type(s) selected in the Output tab.
If a preview scan is not available, VueScan will perform a preview in order to calculate exposure and crop area. If Input | Lock exposure is set and Crop | Auto offset is not set, no preview will be created.
You can scan more than one frame at a time by using the Input | Batch scan option.
If you’re scanning from disk, and specify the starting file in numbered series (e.g. scan0001.tif) you can use the Frame number to select a file. For example, if Input | Files is set to “scan0001.tif” and Input | Frame number is 12, VueScan will look for the file “scan0012.tif” when Scan is pressed.
Other options for specifying numbering schemes for VueScan files are documented on the Output tab help topics.
Scan+ button
This button is used to indicate that the scan should be added to a multi-page file, in PDF, TIFF or OCR Text format. It’s exactly the same as the Scan button except that it indicates that the scan should be appended to a multi-page file.
View button
This button will bring up a viewer for the first file name that’s displayed in the menu bar. This is often simpler than having to switch to the operating system to do this.
It’s also used to display multi-page files whenever you’d like to view them.
Email button
This button lets you e-mail the most recent scan. This is often simpler than bringing up your e-mail program and attaching the scan to your e-mail.
Cancel button
This button is displayed when a scan is in progress. When you press it, the scan is stopped and batch scanning is stopped.
Save button
This button causes the most recent preview or scan to be saved as TIFF, JPEG, PDF, OCR text, Index and/or Raw files, as specified on the Output tab. If you have just created a preview, the preview will be saved; if you have just done a scan the scan will be saved. The only difference will be the resolution of the output file(s) as specified in Input | Preview resolution and Input | Scan resolution – Crop, Filter, and Color settings will be applied to both previews and scans.
You’ll probably just want to save the result of the scan. By setting Input | Auto save to “Scan”, files will be saved automatically when you press the Scan button.
Want to make some adjustments to your final scan? You can change the crop, filter, or color settings, without having to re-scan. Simply make the adjustments – VueScan will refresh the scan in memory and the Save button will cause a new file(s) to be saved.
Save+ button
This button is exactly the same as the Save button except that it indicates that the scan should be appended to a multi-page file.
Rotate L button
Rotates the image left (counter-clockwise).
Rotate R button
Rotates the image right (clockwise).
Zoom Out button
This button zooms out of the image in the Preview tab, or if the Scan tab is displayed it zooms out of the image in the Scan tab. The zoom is a factor of two.
Zoom In button
This button zooms into the image in the Preview tab, or if the Scan tab is displayed it zooms into the image in the Scan tab. The zoom is a factor of two.
Previous frame button
This button goes to the previous frame.
Next frame button
This button goes to the next frame.