How to install VueScan on macOS
This tutorial is going to show you how to install VueScan on Mac OS X, and show you how to scan your first document with VueScan.
The VueScan installation file that you just downloaded should be in your downloads folder, which in most cases can be acccessed in the dock in the lower right hand corner of the screen, or you can access the installation file from the downloads section of the browser you are using. Either way, click on the VueScan installation file to continue the installation.
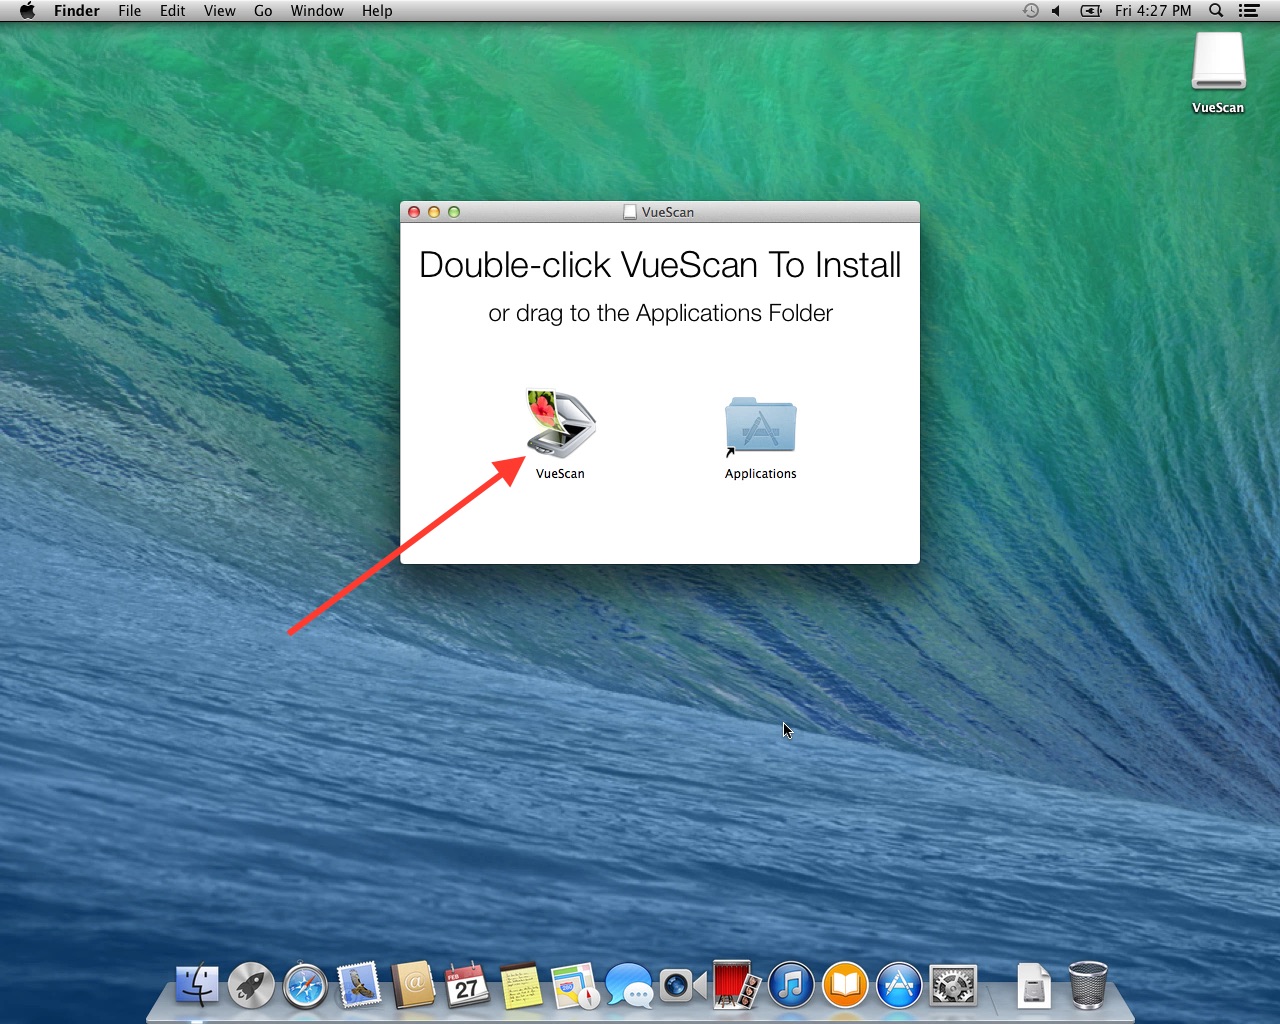
After the VueScan disk image appears, either double click on the VueScan icon, or drag the VueScan icon to the applications folder, to continue the installation. I'm going to double click the VueScan icon.
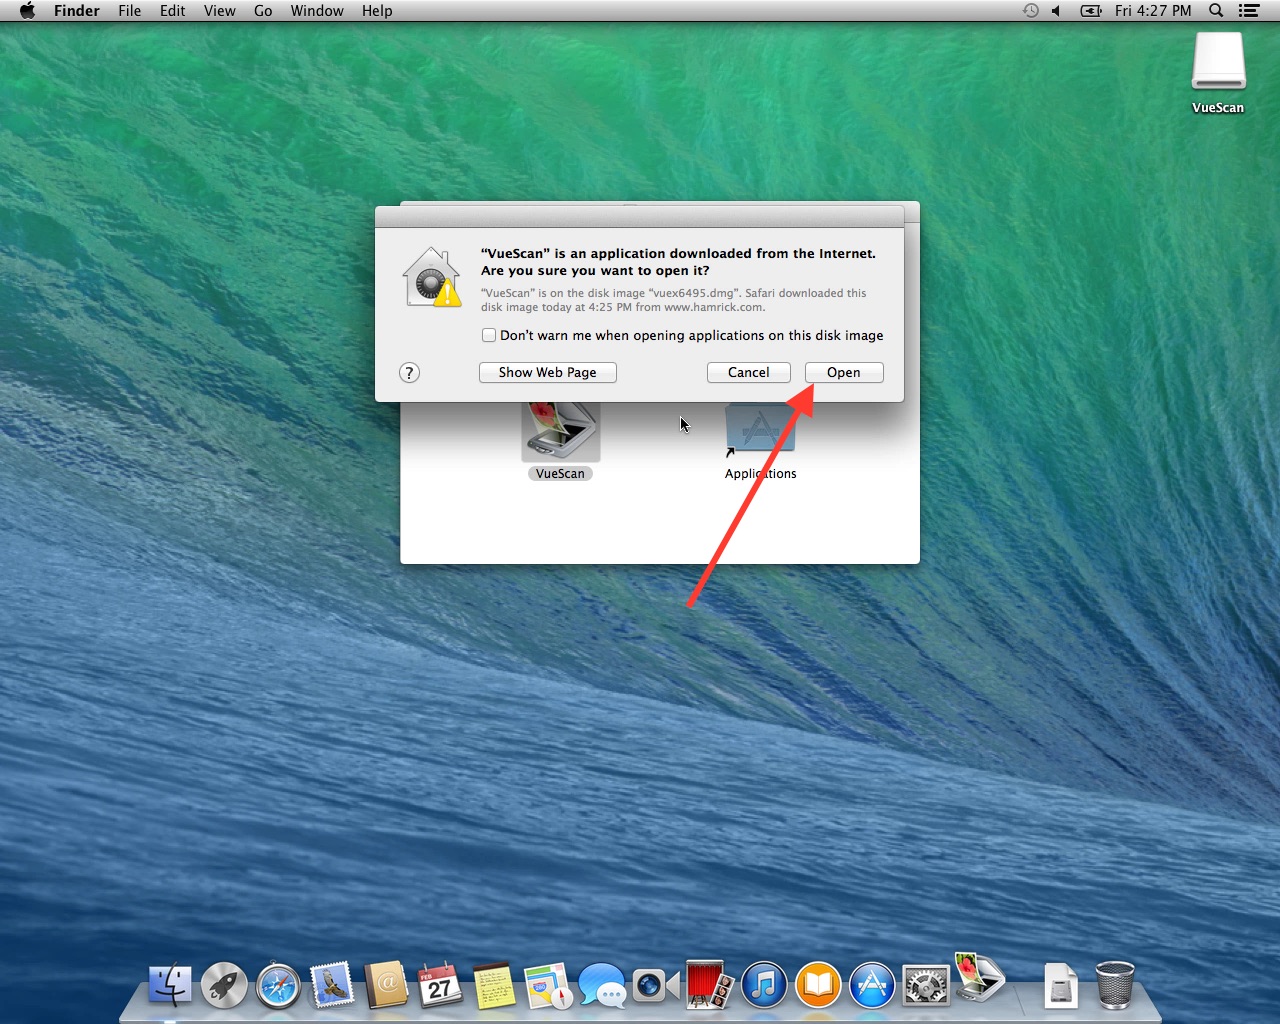
This is going to show a warning dialog, like all other applications you've download from the internet. Press open to continue the installation process.
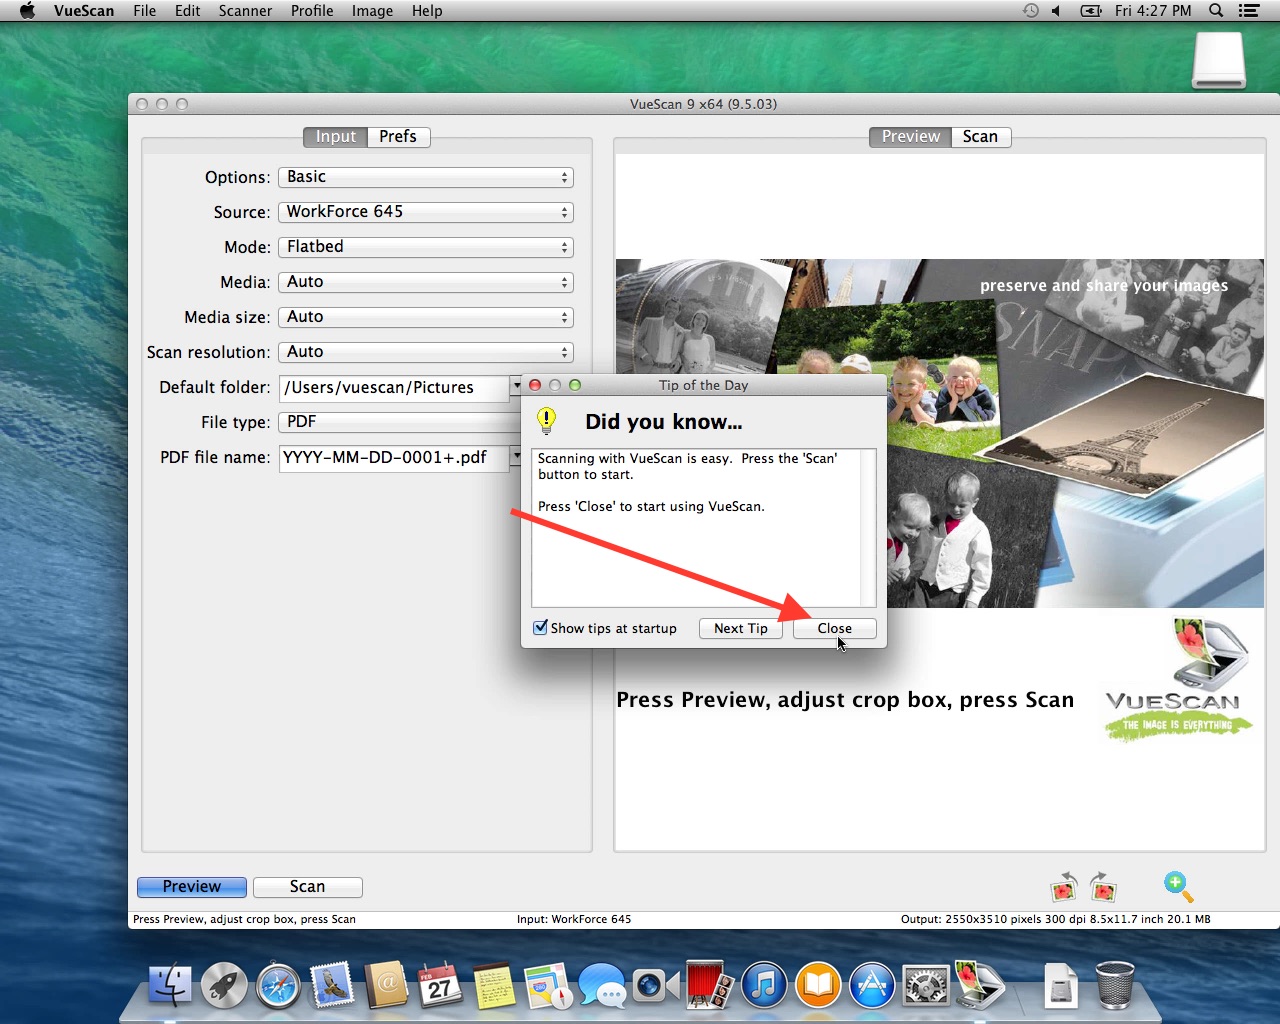
When you first open VueScan it will show a tip of the day. Press 'Close' to close the tip of the day and start VueScan
Make sure you have your scanner plugged in and turned on before you open VueScan. If you don't have it turned on before you start, restart VueScan once you have it turned on.
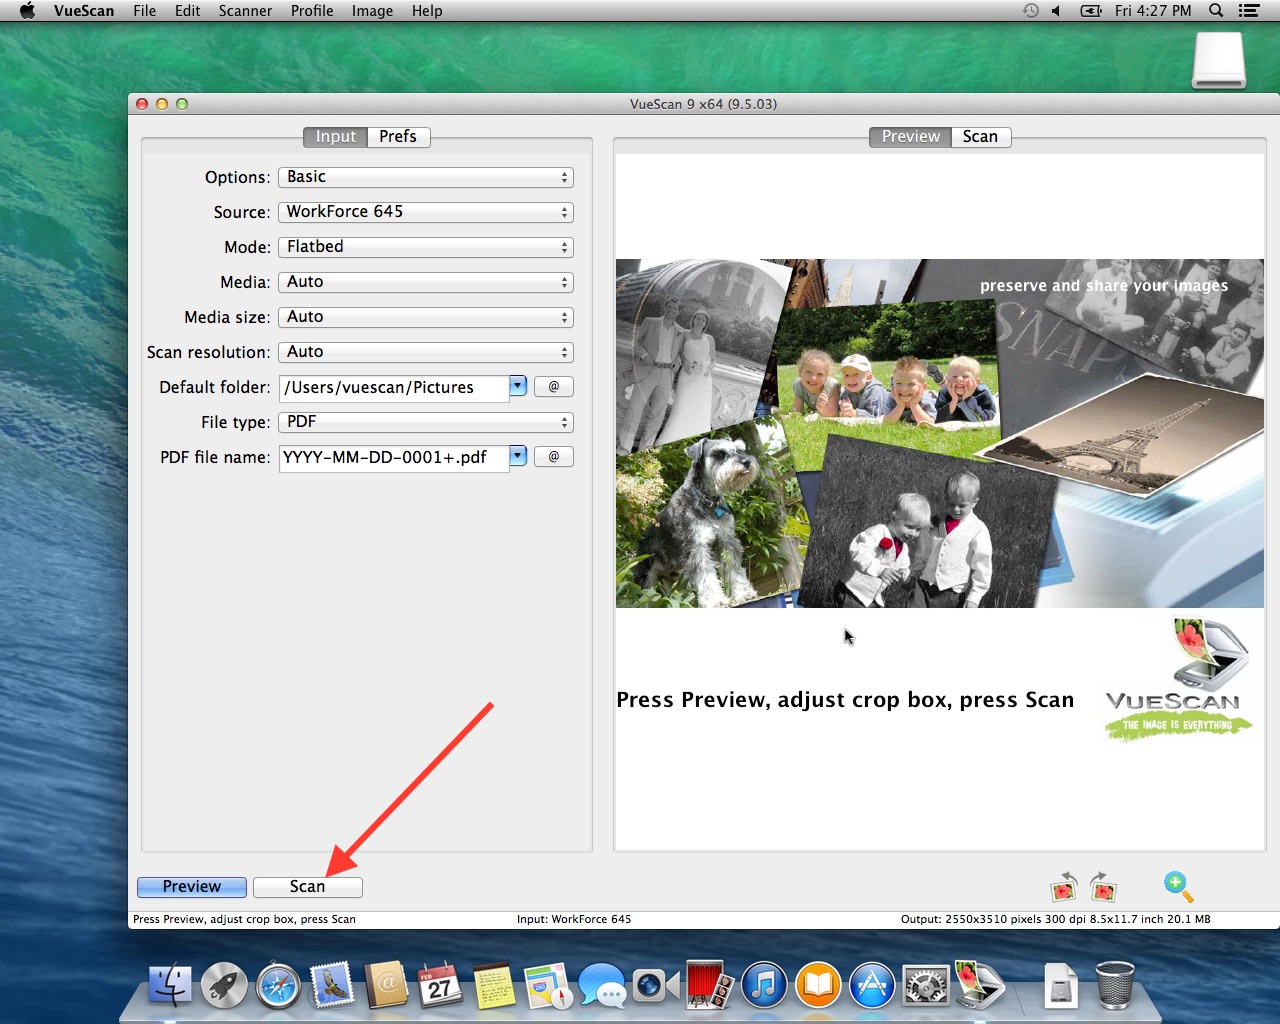
I'm going to show you how to scan a document using a flatbed scanner. You might have a different type of scanner like a film scanner or a scanner with an automatic document feeder. The process will be similar on those scanners, but slightly different.
Put a document on to the flatbed of the scanner. Then press the 'Scan' button in VueScan. It will then take a few seconds to scan your document.

Once you are done scanning a multipage document, press the last page button at the bottom to indicate that you have scanned the last page of this document and you are ready to save the document.